
A rear disc brake conversion kit is an upgrade that for many people is on the radar. So, what is stopping you from doing it? For some of those people, it is fear. The simple fear of how to install it and the difficulty that might come from it keeps a lot of people from taking the plunge. While that is completely understandable, it doesn’t need to be the case. Let’s look at just how easy it is to install a rear disc brake system.
Some rear axles are a tick easier than others but generally most of the systems all install with the same thought process. Some of the GM rear ends require the removal of the rear differential cover in order to remove the c-clips. While this can be a messy adventure and one that, well, stinks, it isn’t a bad thing as it does force us to do a little maintenance. Regardless of your rear end, they all require that you get the rear end down to an axle housing without any previously installed drum brakes in place.
A couple of things to keep in mind that can be a stumbling block that we want to mention. This isn’t to scare you but more of an effort to make sure you know all of the steps before diving in. On some vehicles, it may be necessary to have a machine shop reduce the outside diameter of the axle flange and also the central register of the axle flange. The outside diameter is definitely the most common but also worth mentioning the center register as well. Follow the instructions that are included in the system to know whether you will need to do this or not.
The other thing that might be of concern is the brake lines themselves. The stock lines obviously went up to the wheel cylinders directly. When going to a disc brake conversion kit will require shortening those lines up a bit as you will want to have a flexible connection between the brake line and the caliper. This is so the caliper can be removed easily along with the fact that the caliper will move slightly and you don’t want a hardline becoming brittle over time.
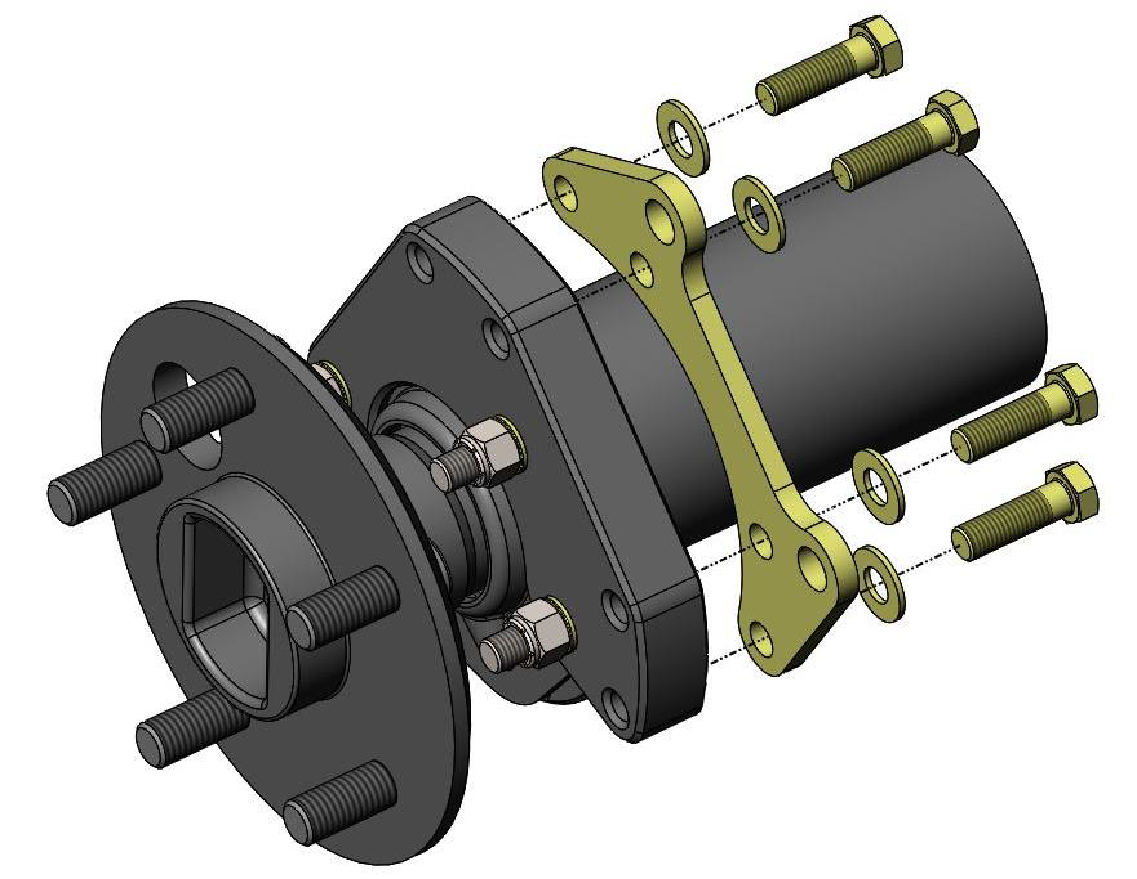
With those things out of the way, it is time to install some parts. As you will find out, this is just as easy as removing the drum brakes from the rear axle housing. You will start out with a base bracket followed by a secondary bracket. After the rotor goes on, the caliper mount and the caliper itself can be installed. If some systems, it may be necessary to shim the caliper to make the system work to its absolute very best.
Step By Step
Step 1:

Step 2:
Step 3:

Step 4:

Any questions?
At this point, you have now successfully completed to install a rear disc brake system on your classic car or truck. If you have questions about anything, please don’t hesitate to give us a call. We want to make sure we can put any of your fears to rest before you get started. If it is easier, leave us a comment below or shoot us an email. We’ll get back to you one way or the other.